Using Rebates
Rebates are tax incentives for a customer that you may be able to offer the customer when bidding on a project.
They are typically paid to the customer by federal or state governments where you have office locations.
If your company or industry has rebates to attract customers or you sometimes apply discounts to the pricing of projects in special circumstances., then you can easily apply theses rebates or discounts in Projectal and track them in real-time to see both the gross and net costs to the customer.
Projectal makes tracking rebates, discounts and costs easy.
Defining Rebates
Defining rebates in Projectal is easy.
Simply go to the Management view in Projectal and click the Rebates icon.
Add rebates that apply to your business.
A rebate has a name and a percentage value.
For example, for the VFX industry, you may want to add "France" with a 40% rebate value, "Australia" with 30%, "Adelaide" with 10%, "Montreal" with 43% and so on.
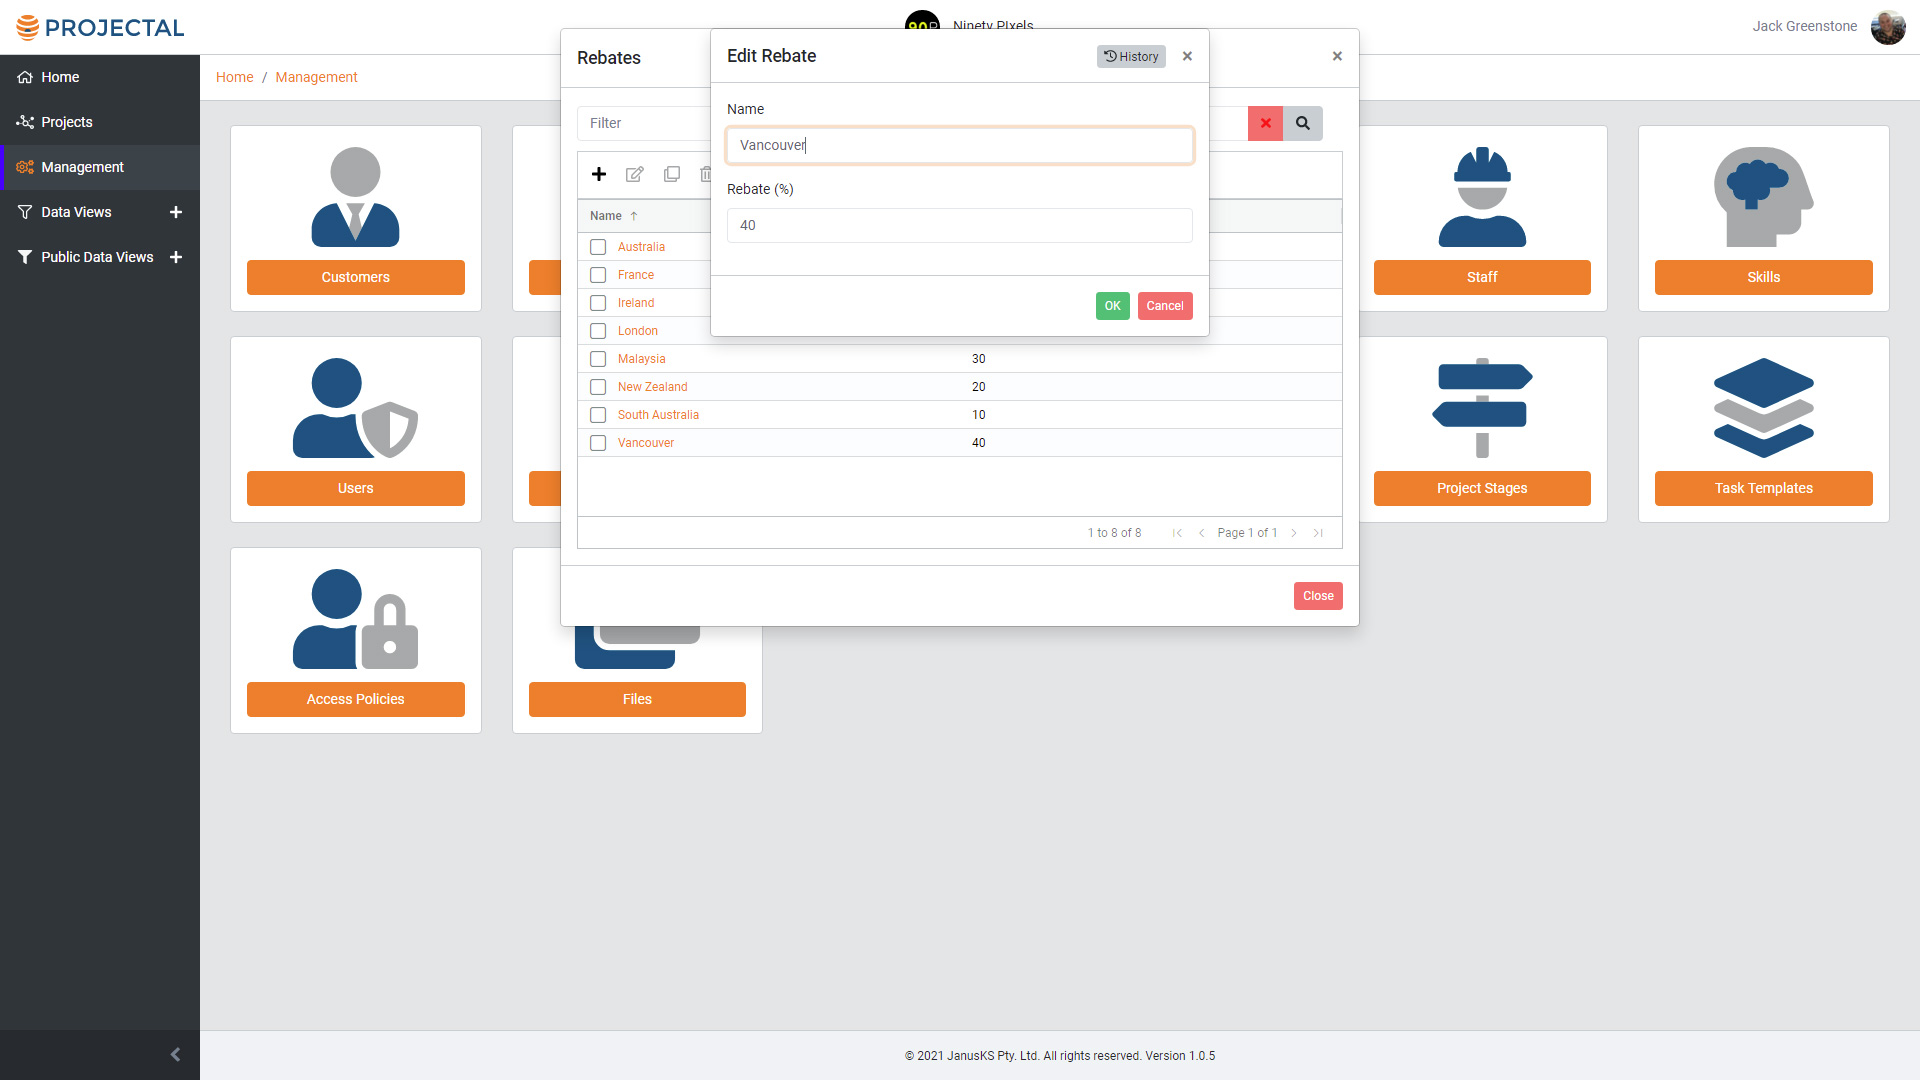
Defining Rebates in Projectal
Using Rebates in Projects
Now that you have defined your rebates, you can use them in your projects.
Go to the Management view in Projectal and click the Projects icon.
Edit your project.
Scroll down to locate the Rebates section on the Edit Project popup.
Click the Add button to add your rebates.
Once rebates have been inserted into a project, any new task added to this project will have those rebates automatically set.
Using Rebates in Tasks
You may wish to apply rebates to certain tasks and not to other tasks.
This could be due to location of the work for a task or the type of work to complete the task.
Go to the Projects view in Projectal to locate your project and click on your project to enter this project.
Go to the Task Sheet view for the project.
Locate the task you wish to change and edit it.
Scroll down to locate the Rebates section on the Edit Task popup.
Click the Add button to add or remove your rebates.
You can also change the rebates for multiple tasks at one time by editing the Rebates column in the Task Sheet view.
Fixed Cost, Estimated Cost, Planned Cost and Actual Cost
Let's define what these mean:
- Fixed Cost is the cost that you enter for a project or task. It is typically the price that has been agreed to between you and the customer.
- Estimated Cost is the estimated cost of the project or task based on the amount of time to complete the tasks by the staff assigned to those tasks.
- Planned Cost is the estimated cost that should have been spent on the project or task as at today.
- Actual Cost is the actual costs of completing the project or tasks to date and is based on the actual time spent by the staff assigned to those tasks.
For each of these cost values, you can view the Gross values and the Net values in real-time.
The Gross value is the cost without rebates being applied.
The Net value is the cost with rebates applied.
You can view each of these cost values on the Task Sheet view.
Click on the header icon in one of the columns in the Task Sheet view to see the list of available columns to display.
Simply select the cost columns (Gross or Net) that you wish to display.
Creating your own Task views that show Rebates
Once you have selected the columns that you want to see, you can save this as a Task View.
This is handy when bidding on projects.
Click the "eye" icon in the Task Sheet's action bar and click "Save Task View".
Give your Task View a name (such as "Bidding View") and click OK.
Now you can recall this view at anytime when bidding on projects.
Exporting your Costs and Rebates
When you are ready to create a bid offer document to present to your customer, you can export the costs, rebates and other project data for your project.
Simply click the Export icon on the Task Sheet view's action bar.
Use the exported project data to format it into a bid offer document document using your preferred document editor.